
I love Valentine's Day! I'm not a very romantic person. But something about all of the pink and hearts, I just adore. Since having children, my husband and I have more fun making Valentine's Day a family event then trying to plan a date. I love making heart shaped pancakes for breakfast and then having a heart shaped pizza for dinner and of course heart shaped sugar cookies for dessert. For the next week, I thought it would be fun to start the festivities by trying new treats, crafts and other "pink" themed activities.
Today, I decided to make Valentine's Day Jello Pinwheels. I was inspired when I saw the Watermelon Jolly Rancher flavored Jello at the store. Yum! That's the best flavor of Jolly Rancher!
Valentine's Day Jello Pinwheels

Ingredients
1 (3 oz.) pkg. jello
1/2 cup water
1 1/2 cups mini marshmallows
12 inches of thread, fishing line, or unflavored dental floss
Directions
Lightly spray an 8 or 9 inch square pan with non-stick cooking spray. Make sure it is evenly coated.

Stir together water and jello powder in glass bowl and then microwave for 1 minute. Remove bowl and stir well making sure jello is disolved. If necessay, return to microwave for 20 seconds or so to make sure jello is dissolved and stir again.

Add marshmallows.

Return to microwave for 20-40 seconds or until marshmallows have begun to puff. This is the key to a successful marshmallow layer. If you over cook the marshmallows, they just dissolve and your pinwheel will not have two distinct layers.

Whisk quickly until marshmallows are dissolved. Pour quickly into prepared pan and chill in fridge for 45 minutes or until well set. I let mine set for 90 minutes. The creamy layer will float to the top.
Remove the pan from the fridge. At this point, the jello should be very firm and easy to handle.

Gently pull one side away from pan and lift entire sheet onto counter. I turned my pan upside down on a cutting board and let it fall out.

Flip the jello over so that the marshmallow side is up.

Starting at one end, roll up tightly. With seam side down.

With seam side down, cut into 10-12 (1/2) inch slices. I found it easiest to cut with a piece of fishing line, thread, or dental floss. Just put the string around the pinwheel, cross and pull.

Serve immediately or refrigerate until ready to serve.
I got this recipe from the Kraft website. http://www.kraftrecipes.com/recipes/easy-marshmallow-pinwheels-51697.aspx They have a ton more great recipes to try!
Check back in tomorrow to find out what the next Valentine's Day activity will be!
Sweet Valentine Cupcakes
.JPG)
I got this cute cupcake book called What's New,Cupcake? created by Karen Tack and Alan Richardson and have been wanting try making one of the cute cupcakes. I chose the flowers because them seemed great for Valentines Day, which is fast approaching. And I already had marshmallows and the other ingredients in my cupboard : )
.JPG)
.JPG)
I always make my cakes and cupcakes with box mixes. They are just so much easier. And I think they taste really good too. Here is what you will need to make these flower cupcakes.
.JPG)
.JPG)
.JPG)
Once your cupcakes have baked and cooled, you will need to frost them. Don't overdo the frosting or it will ooze out the sides of the petals.
.JPG)
Starting along the outside edge of the cupcake, place the edge of the petals into the frosting, one at a time. Working your way around the cupcake until you reach the top. I chose to use petals on the entire cupcake, but you can also leave a space at the top to put a round dollop of frosting or candy as the center of the flower.
.JPG)
TA DA! You have your super easy flower cupcakes and everyone will think you are a master cupcake artist.
.JPG)
.JPG)
.JPG)
I also had my daughter's help me. This is how my 2 year old decorated her cupcake. She liked the sugar!

_________________________________________________________________________________
Oh Kale!
.JPG)
.JPG)
Let me start out by saying I have tried to make baked kale chips at home quite a few times. And each time they just don't turn out. I either over cook it or under cook it. It kind of just tastes like I went out into my yard and gathered some dead leaves. I can taste the potential in kale. That's why I keep trying to make it. And its just so good and healthy for you.
While I was at Whole Foods I saw this package of kale. It looked so good. It was made with cheese and garlic. I figured it had to be good and for $5.99 a pop, it had better taste outstanding. I wanted to open it so bad in the car and have just a little taste. But I knew if I opened it in the car and it tasted good, that there would be none left to share with my husband by the time I got home.
I got home and shared the kale with my husband. IT WAS SO AMAZING!!!!! It was worth every penny, all 599 of them. I just kept eating it and eating it! I had to close the lid and put it up high so that I could save some for later. Well the next morning, guess what I had for breakfast...yep, kale! I ate it all and licked the package clean. Then I was sad...It was all gone and in what less than a day. I felt like an addict...I needed more kale...
So I tell you...Go! Go Now! to Whole Foods and get a package of this raw kale! Its amazing. It's dehydrated, not baked and its all natural. I think I may attempt to make it at home in my dehydrator. I will keep you updated, if I have any success...
Here is the link to Brad's Raw Foods. They have many other flavors of kale chips like naked, nasty hot, pina kale-ada and natural nacho- I'm sure I will have to try them too! You can also read the history behind this brand and see their other products.
http://www.bradsrawchips.com/
_________________________________________________________________
Have you jumped on the Greek yogurt bandwagon yet?

There is so much hype over Greek yogurt! For months, I had been reading that Greek yogurt was so much better for you than regular yogurt. I read article after article suggesting you replace the eggs and oil in recipes with Greek yogurt. So I decided to make the switch. I tried a few different brands at first. They had a different taste than regular yogurt, but they certainly weren't bad. And now I prefer the taste to regular yogurt.
The first brand that I tried had 8g of protein, the second brand that I tried had 10g of protein. Then I found Chobani, it has 14g of protein and is an all natural yogurt. NO ASPARTAME!

Chobani was also the best tasting brand that I had tried. I started having the Chobani for breakfast with 5-6 almonds tossed in. It kept me full until lunch time. I'm normally someone that has to have a snack every few hours. I know that its healthier to eat that often but its not always convenient.
It was incredible, I started loosing weight and having a lot more energy too! Really you ask, all that from one container of yogurt? YES! It really is that amazing. I buy the Chobani at Target for $1.22. I know that's double the cost of regular yogurt. But with all of the health benefits, it's totally worth the cost. And you can replace it as a meal. I recommend Chobani to everyone!
**************************************************************************
Bacon Maple Cupcakes

I LOVE BACON! I have been a vegetarian off and on for many years, but I can't ever turn down bacon!

I have wanted to try a bacon cupcake for the longest time, but none of the bakeries around town have them. And when I ask for them, they look at me like I'm crazy. I have found bacon milkshakes and bacon doughnuts. They were delicious!
I looked up a few recipes online, but I didn't want to go to all of the trouble of making them from scratch. So I created my own recipe using a box of cake mix and a tub of frosting. It turned out pretty good. I think I might tweak a few things over time, but for now here is what I did...
Maple Bacon Cupcakes

Ingredients
- Box of any Vanilla Cake Mix
- Tub of any Vanilla Frosting
- 1/2 cup of Vegetable Oil
- 1 cup of Water
- 3 Eggs
- 1 Package of Bacon Minced
- 3.4 oz of Pure Maple Syrup
- 1 Tbs. of bacon drippings (left in refrigerator to become solid)
- Salt (optional)
- Butter (optional)
Directions
Fry bacon, the crispier the better. Put aside for later. (I had to hide mine, to be sure I wouldn't eat it all) Place 1 Tbs.
of bacon drippings in the refrigerator to solidify. Preheat oven to 325
F. Make cake mix according to the box instructions. Add 4 Tbs. of
maple syrup. Add 1 Tbs. of solid bacon drippings. Add a small scoop of
butter (optional). Add a tiny tiny pinch of salt (optional). Add 1/2 cup
of minced bacon. Mix together. Place batter in cupcake liners and bake
for 15 mins. Rotate pan after 7 mins for even baking.
While
they are baking, its time to make the frosting. I use the mixer for
this. It makes the frosting very smooth and creamy. Mix 1 tub of
frosting and 3 Tbs. of maple syrup. Add a tiny tiny pinch of salt
(optional). After the cupcakes have cooled its time to frost and top the
cupcakes. I put my frosting in a large zip lock bag and cut the corner
off and use it like a piping bag. Sprinkle the cupcakes with the minced
bacon. Add a small sprinkle off salt to the top of the cupcakes, if the
frosting is too sweet for you.

These are a very unique treat, definitely worth trying once!

I love ramen noodles! So when I saw this recipe to upgrade my noodles, I couldn't resist trying it. Who doesn't want an upgrade?
Surprisingly, the recipe is from Ms. Martha Stewart. I didn't know she allowed ramen noodles in her kitchen? I guess prison can teach a girl a few things!
The thing that was great about this recipe was that I had everything in my cupboard to make it. I never have everything that I need in my cupboard. I guess I was destined to have a ramen noodle upgrade. Lucky me!
Here's how you make them...
Gangnam Style Ramen Noodles
(I named them myself, makes them sound so cool, don't ya think?) 
Ingredients
- 1 package Ramen noodles
- 1 pack chicken noodle flavoring
- 1 tablespoon soy sauce
- 2 tablespoons chunky peanut butter
- 2 teaspoons Sriracha chili sauce
- chow mein noodles to garnish
Directions
Add boiled water to noodles, let sit for 3 minutes. Drain off most liquid. Add the flavor packet and mix. Toss with soy sauce, peanut butter, and Sriracha. Garnish with chow mein noodles. Eat immediately.
Side note... This makes 1 serving. I added snow pea crisps for more
crunch. If you don't like spicy food use less or none of the Sriracha
chili
sauce. I happen to love spicy food so it was perfect for me, but it was
hot.
This ramen dish is so delicious and very filling. I recommend it to everyone! The fun thing about it is that you can pretty much add anything you want to it. You could add cooked chicken, peanuts, or cashews...just to name a few. I hope you enjoy them as much as I did!
******************************************************************************************************************
On my way to taking London to school this morning, I noticed a cute food truck sitting in front of a business by my house. I had to stop! I love food trucks, I love how "city" they feel. If I had any talent in the food department I would totally own one.
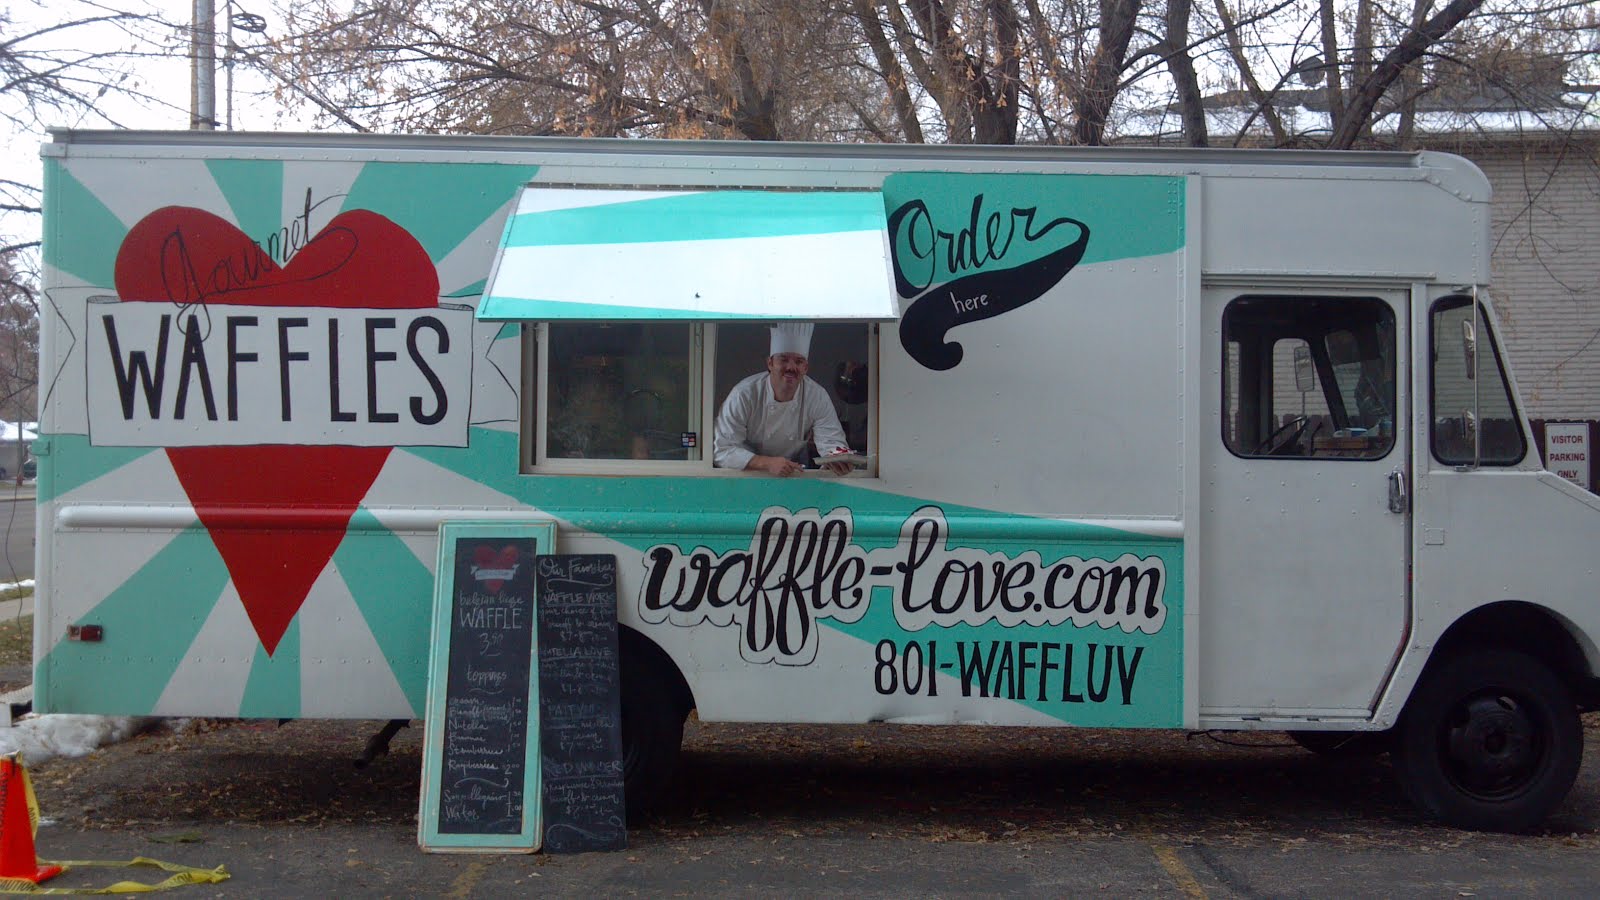
This truck is called Waffle Love. They had 4 specialty waffles to choose from. They also had Belgian waffles that you can add any topping to. The prices range from $3.50-$8.00. I chose the specialty waffle called Red Wonder. It was $8.00. It had half strawberries and half raspberries with Biscoff and cream.

I DECLARE WAFFLE LOVE THE BEST WAFFLES IN THE WORLD!
Find this truck at www.facebook.com/waffleloveutah and on twitter and instagram @waffluv

Great Artwork

They cater...maybe they can deliver breakfast to me every morning!

I love his "chef" outfit! He looks just like the little chef statue I have in my kitchen!
No comments:
Post a Comment